How to Clean Your Cannabis Grinder
Discover how to clean your cannabis grinder with our step-by-step guide, ensuring a smooth grind and improved experience for weed enthusiasts.
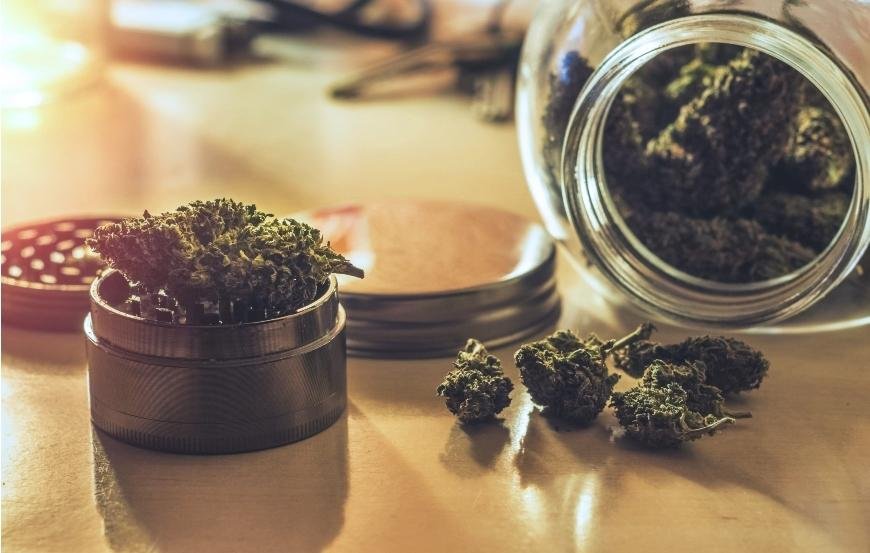
Cannabis grinders are a must for any stoner, but maintaining a clean grinder is key for any cannabis connoisseur to ensure optimal grinding and maximum potency of their favorite strains. Maintaining your grinder is essential for a superior grind and to maintain the potency and flavor of your cannabis. In this blog post, we will guide you through the process of how to clean your cannabis grinder step by step.
By following our comprehensive instructions, you'll learn how to disassemble your grinder properly, remove stuck plant residue effectively, and clean each component thoroughly without causing damage. Additionally, we will share tips on drying the grinder correctly and preventing future build-up so that every grinding session yields optimal results.
Dive into this informative guide on how to clean your cannabis grinder and enjoy an improved cannabis experience with every use!
Table of Contents:
- Why Cleaning Your Grinder is a Must
- Disassemble Your Grinder
- Upgrade Your Cannabis Game with a Clean Grinder
- FAQs in Relation to How to Clean Your Cannabis Grinder
- Conclusion
Why Cleaning Your Grinder is a Must
Don't let a dirty grinder ruin your cannabis experience - regular cleaning is key to maintaining optimal performance and preserving the taste and potency of your favorite strains. A clean weed grinder ensures smooth operation, reduces wear on moving parts, and allows you to collect any leftover kief for maximum cannabinoid intake. This also applies to keeping your hand grinders clean, which are less common but still just as useful.
- Better performance: Clean grinders work more efficiently, providing finely ground cannabis for joints, vaporizers, or edibles without affecting their flavor profile or potency levels.
- Taste preservation: Regular cleaning helps maintain the original flavors of different strains by preventing cross-contamination from old plant residue build-ups.
- Potency protection: Removing stuck-on resin and plant matter keeps cannabinoids intact for maximum effectiveness during consumption.
- Durability boost: Proper care extends the life of your investment by minimizing wear-and-tear on moving parts caused by stubborn debris accumulation over time.
So, keep your grinder in top condition through regular cleaning sessions and enjoy an enhanced cannabis experience every time you use it. As you can see, learning how to clean your cannabis grinder is a must.
Disassemble Your Grinder
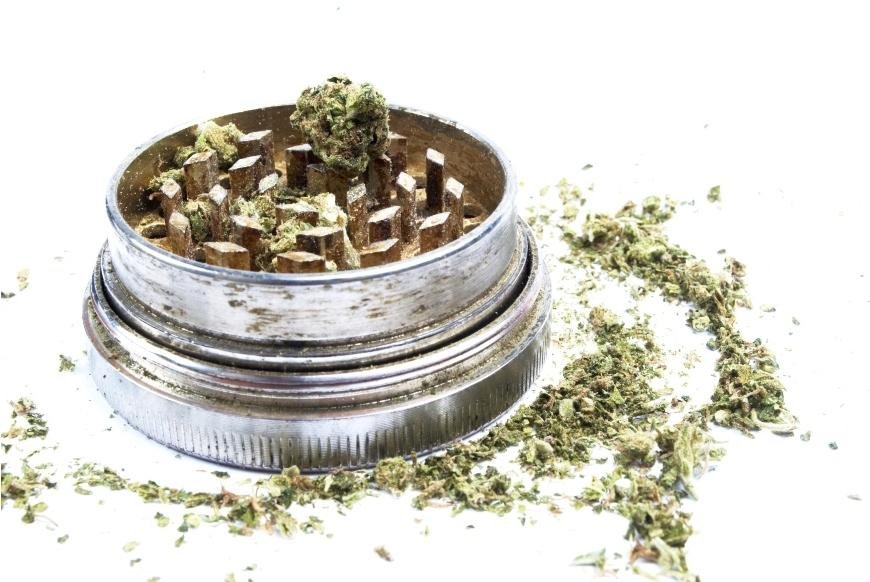
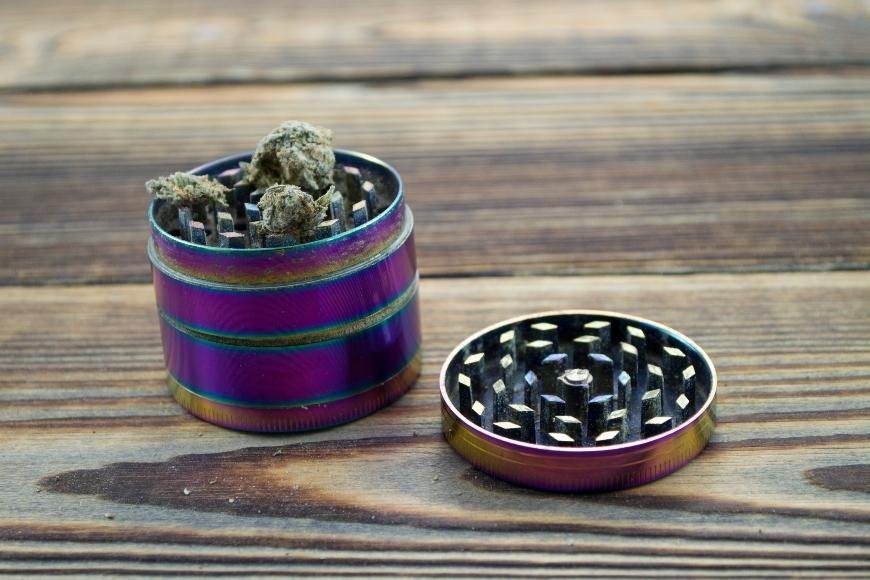
Before you can clean your cannabis grinder effectively, you need to take it apart to access all the nooks and crannies where plant residue may be hiding. Most grinders consist of three main parts: the lid, grinding chamber, and pollen catcher. Some are also made from different materials, such as a metal grinder, or it may just be one of the simple two-piece grinders. Multi-chambered grinders typically take longer to clean.
- Lid: The top part of the grinder that contains teeth for breaking up cannabis buds.
- Grinding Chamber: The middle section where ground-up cannabis collects after being shredded by the lid's teeth.
- Pollen Catcher: The bottom compartment that captures fine particles (kief) from ground cannabis through a mesh screen separating it from the grinding chamber.
To disassemble your weed grinder, gently unscrew or pull apart each component, being careful not to damage any threading or connections between parts. If you have a magnetic grinder, simply pull off the lid and separate the chambers with ease. If your grinder has more than three pieces or additional features like a crank handle or viewing window, consult its user manual for specific instructions on how to take it apart safely. Reassembling your grinder might require some attention, so make sure everything fits together snugly without forcing any components into place before using it again.
Remove Stubborn Residue
Before cleaning your grinder, remove any stuck residue (cannabis trichomes) by freezing it, tapping it out, and poking it with a toothpick, brush (including a nylon brush), pipe cleaner or small scraper.
- Freeze Your Grinder: Place your disassembled grinder in a plastic bag or container and freeze it for 30 minutes to harden any remaining resin.
- Tap It Out: Gently tap each piece against a hard surface to break up any hardened residue and release loose cannabis trichomes.
- Poke with Toothpick or Brush: Use a toothpick, small brush, or q-tip to remove any remaining debris from all surfaces.
If there's still stubborn residue, don't worry. We'll discuss deep-cleaning methods next.
Clean Each Component
To clean your grinder thoroughly, follow these steps:
- Create Cleaning Solution: Mix equal parts 90% isopropyl alcohol and warm water in a bowl or container.
Clean Every Nook and Cranny of Your Grinder
Disassemble your grinder and remove any stuck residue before giving each component a thorough cleaning using common household items.
Soak in Isopropyl Alcohol: Place all the components in a ziplock bag or glass container filled with 90% or higher isopropyl alcohol to dissolve any remaining resin and plant matter stuck inside.
Scrub with a Toothbrush: Use an old toothbrush or small brush to gently scrub away any stubborn residue from the grinder pieces.
- Dish Soap & Warm Water: Mix dish soap with warm water to soak the components before scrubbing off any remaining debris with a toothbrush.
- Baking Soda & Vinegar: Create a paste by mixing equal parts baking soda and vinegar together. Mix baking soda and vinegar in equal parts to create a paste, then apply it onto each piece of the grinder and let sit for 10-15 minutes before scrubbing away any residues with an old toothbrush or small scraper.
Rinse all cleaned components thoroughly under running water afterward to remove any leftover cleaning solution that could affect the taste and potency of your cannabis. You'd be surprised how dirty weed grinders get, so regular maintenance is essential.
Dry Your Grinder Properly for Optimal Performance
Thoroughly dry all components of your cannabis grinder after cleaning to prevent rusting, mold growth, and ensure optimal performance. Use a clean microfiber cloth or paper towel to gently pat each component dry, reaching every nook and cranny. Speed up the drying process by placing the disassembled parts in direct sunlight or under a fan, but don't leave them out too long.
Use rubbing alcohol to evaporate any remaining water from the surfaces of your grinder quickly, but avoid soaking any plastic parts. Remember that proper storage away from humidity sources is essential in maintaining cleanliness between uses.
Prevent Future Build-Up
Now that you know how to clean your cannabis grinder, it's time to learn some techniques for preventing future residue accumulation. Keep your grinder in top shape for a consistently smooth and potent smoking experience. Grind only dry cannabis to avoid moisture causing plant matter to stick together and create build-up in the grinder. Consider using a cannabis storage container to maintain optimal dryness and humidity levels for your stash. Maintenance is key - give your grinder a quick brush after each use with a soft-bristled toothbrush or dedicated grinder brush.
- Avoid overloading: Grind smaller amounts at a time instead of packing it full and avoid clumpy cannabis to prevent more residue sticking inside the device. Dense cannabis nugs can make cleaning harder later down the line.
- Clean regularly: Aim for monthly cleaning sessions as part of routine maintenance.
- Lubricate moving parts: Apply food-grade lubricant like beeswax or coconut oil sparingly on threads and other moving components every few months to prevent friction-induced wear-and-tear while also reducing resin buildup. This also ensures a smooth grind every time and reduce the risk your grinder breaks.
Invest in high-quality weed grinders made from materials less prone to resin accumulation such as stainless steel or anodized aluminum - these are easier to clean than plastic models due to their non-stick properties. By following these simple tips, you'll keep your grinder functioning at its best and ensure that every grind delivers the full flavor and potency of your cannabis. Happy grinding.
Upgrade Your Cannabis Game with a Clean Grinder
When you want to grind weed, regular cleaning preserves the terpenes, which contribute to the unique aroma and flavor profile of your herb. Removing built-up resin ensures a consistent grind and maximizes cannabinoid extraction for better potency.
- Maintain optimal performance with less effort required when grinding.
- Prolong lifespan to save money in the long run.
- Enjoy cleaner-tasting smoke or vapor with better flavor quality.
- Maximize cannabinoid content in each batch of ground material for enhanced effects.
Studies have shown that properly stored and prepared cannabis retains higher levels of active ingredients like THC and CBD than poorly maintained samples. So, to get the most out of your herb, make sure to clean your grinder regularly and follow the steps outlined in this article. Your taste buds and lungs will thank you.
FAQs in Relation to How to Clean Your Cannabis Grinder
Is boiling your grinder a good idea?
No, boiling your grinder can damage it and cause rust. If you want to keep your weed grinder clean, it's best to use a gentle cleaning solution like isopropyl alcohol or warm soapy water.
How to get more kief from your grinder?
To maximize kief collection, tap the grinder on a hard surface after each use and use a small brush or toothpick to remove any stuck kief from the screen and edges of the grinding chamber.
What to use to clean your grinder?
You can clean your cannabis grinder using isopropyl alcohol, warm soapy water, or specialized cleaner designed for grinders, and always rinse thoroughly with water after cleaning.
How to clean your grinder without wasting any material?
To avoid wasting precious material while cleaning and keep your cannabis grinder clean, gently tap out excess plant matter onto a tray, carefully scrape off residue with a soft brush or toothpick, and if using isopropyl alcohol, place disassembled parts in a sealable plastic bag with enough liquid and shake gently until residue dissolves.
Conclusion
Grind weed like a pro, and don't let a dirty grinder ruin your next smoke sesh. Keeping your weed grinder clean is a must, so follow these simple steps to keep your grinder in top shape.
- Disassemble: Take apart your grinder and remove any loose debris.
- Remove Stuck Residue: Use a toothbrush or small brush to gently scrub away any stubborn residue.
- Clean Each Component: Soak each piece in isopropyl alcohol for 30 minutes, then scrub with a brush and rinse with warm water.
- Dry Properly: Let each piece air dry completely before reassembling.
- Prevent Future Build-Up: Use a small brush to clean your grinder after each use and avoid overfilling.
Before you consume cannabis, follow these steps, and you'll ensure a cleaner, smoother, and more enjoyable smoking experience. Now you know everything you need to know about how to clean your cannabis grinder.

